
Everstart Maxx Jump Starter Manual: A Comprehensive Guide (Updated 04/30/2026)
This manual details the Everstart Maxx 800A & 1200A Jump Starters‚ offering guidance on features‚ safety‚ charging‚ and troubleshooting for optimal performance.
Welcome to the comprehensive guide for your Everstart Maxx Jump Starter! This portable power solution is designed to quickly and safely jump-start your vehicle‚ offering peace of mind on the road. Whether you’ve chosen the 800A or 1200A model‚ this manual will equip you with the knowledge to operate it effectively.
The Everstart Maxx Jump Starter isn’t just for emergencies; it also features a USB port for charging your mobile devices‚ tablets‚ and other USB-powered gadgets. This manual covers everything from initial charging procedures and understanding LED indicators to detailed jump-starting instructions and troubleshooting common issues. We’ll also delve into proper maintenance and storage to ensure the longevity of your device.
This guide‚ updated as of April 30‚ 2026‚ aims to provide a clear and concise understanding of all aspects of your Everstart Maxx Jump Starter‚ empowering you to use it with confidence and safety.
Understanding the Key Features
The Everstart Maxx Jump Starter boasts several key features designed for convenience and reliability. Primarily‚ its high peak amperage – available in 800A and 1200A models – provides sufficient power to jump-start a wide range of vehicles‚ including cars‚ trucks‚ and SUVs. The integrated USB port allows for on-the-go charging of smartphones‚ tablets‚ and other portable devices‚ adding versatility beyond emergency jump-starts.
LED indicators clearly display the jump starter’s charge level and operational status‚ ensuring you’re always informed. Safety features‚ such as reverse polarity protection‚ safeguard both the device and your vehicle’s electrical system. Its compact and portable design makes it easy to store in your car or garage‚ ready for immediate use. The build quality ensures durability and long-lasting performance.
Safety Precautions – Critical Information
Prioritize safety when using the Everstart Maxx Jump Starter. Always wear eye protection to shield against potential sparks or acid splashes. Never attempt to jump-start a damaged battery – look for cracks or leaks. Ensure proper ventilation during use‚ as batteries can release explosive gases. Avoid contact between the clamps; incorrect connection can cause sparks and damage.
Do not use the jump starter near flammable materials. Keep it away from children. Inspect the cables and clamps for damage before each use; replace if worn. Disconnect the jump starter immediately if the engine doesn’t start after several attempts. Improper use can lead to injury or vehicle damage. Read the entire manual before operation for complete safety guidelines.
Package Contents & Device Overview
Your Everstart Maxx Jump Starter package includes: the jump starter unit itself‚ a pair of heavy-duty jumper cables (red for positive‚ black for negative)‚ and this comprehensive user manual. Some models may also include a USB charging cable and a carrying case. The device features a power switch‚ LED indicators displaying charge level and potential issues‚ and the clamp connectors.
The jump starter’s robust construction ensures durability. Familiarize yourself with the location of the charging port and the USB output. The LED screen provides vital information regarding the unit’s operational status. Carefully inspect all components upon unboxing to ensure nothing is missing or damaged. Retain the packaging for potential future storage or transport.
Charging the Jump Starter
To ensure optimal performance‚ fully charge your Everstart Maxx Jump Starter before its first use. Utilize the included charging adapter and connect it to a standard 120V AC outlet. The charging process typically takes between 4-24 hours‚ depending on the model (800A or 1200A) and the initial charge level. Avoid using third-party chargers‚ as they may damage the unit.
During charging‚ observe the LED indicators; they will illuminate to indicate the charging progress. Do not attempt to jump-start a vehicle while the unit is charging. Store the jump starter in a cool‚ dry place during charging. Regularly check the charging cable for any signs of damage. A fully charged unit will provide maximum starting power.
Initial Charging Procedure
Upon receiving your Everstart Maxx Jump Starter‚ a complete initial charge is crucial for longevity and peak performance. Connect the provided AC adapter to the unit’s charging port and plug it into a standard 120V outlet. The initial charge may require a longer duration – up to 24 hours – to fully saturate the battery.
Monitor the LED indicators throughout the process. They will cycle‚ indicating the charging status. Avoid interrupting the initial charge cycle. Once fully charged‚ the indicators will display a solid “full” signal. This ensures the internal battery is conditioned for optimal jump-starting capability. Following this procedure will maximize the lifespan of your Everstart Maxx Jump Starter.
Understanding the LED Indicators
The Everstart Maxx Jump Starter utilizes a multi-color LED indicator system to convey crucial information about the device’s status. A red light typically signifies a low charge level‚ prompting immediate recharging. During charging‚ a flashing red light indicates the unit is actively receiving power. Transitioning to a flashing green light signals that charging is nearing completion.
A solid green light confirms a full charge‚ ready for use. When attempting a jump start‚ the indicator’s behavior provides feedback – a steady amber light suggests a connection issue‚ while a flashing amber may indicate insufficient power for the vehicle. Understanding these signals ensures safe and effective operation.
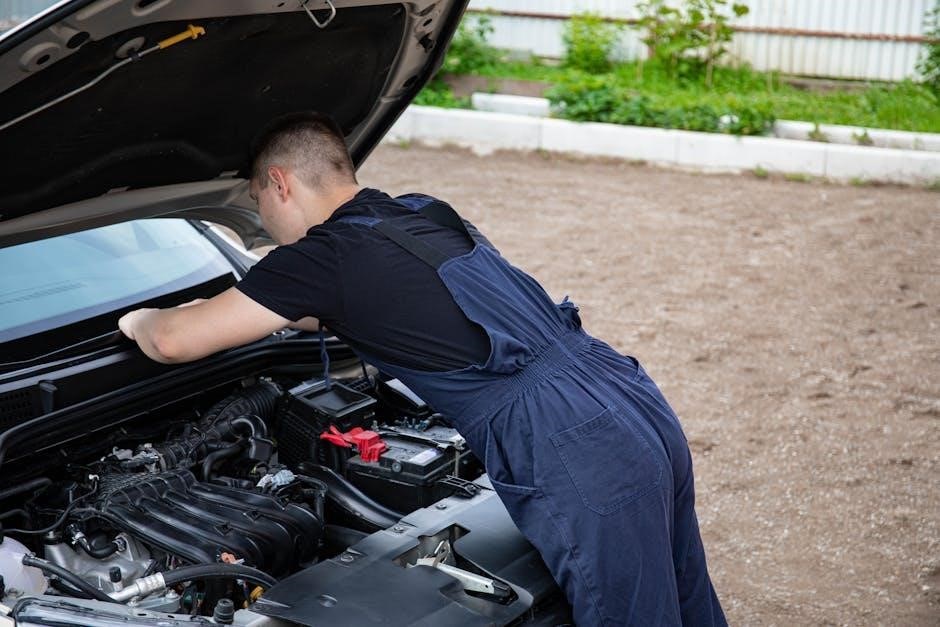
Jump Starting a Vehicle – Step-by-Step Guide
Before commencing‚ ensure both vehicles are switched off. Connect the red clamp to the positive (+) terminal of the dead battery‚ then the other red clamp to the positive terminal of the working vehicle. Next‚ connect the black clamp to the negative (-) terminal of the working vehicle. Crucially‚ connect the final black clamp to a grounded metal surface on the disabled car‚ away from the battery.
Turn on the working vehicle and let it run for a few minutes. Then‚ attempt to start the dead vehicle. If successful‚ carefully disconnect the clamps in reverse order of connection. If it fails‚ check connections and repeat. Always consult your vehicle’s manual.
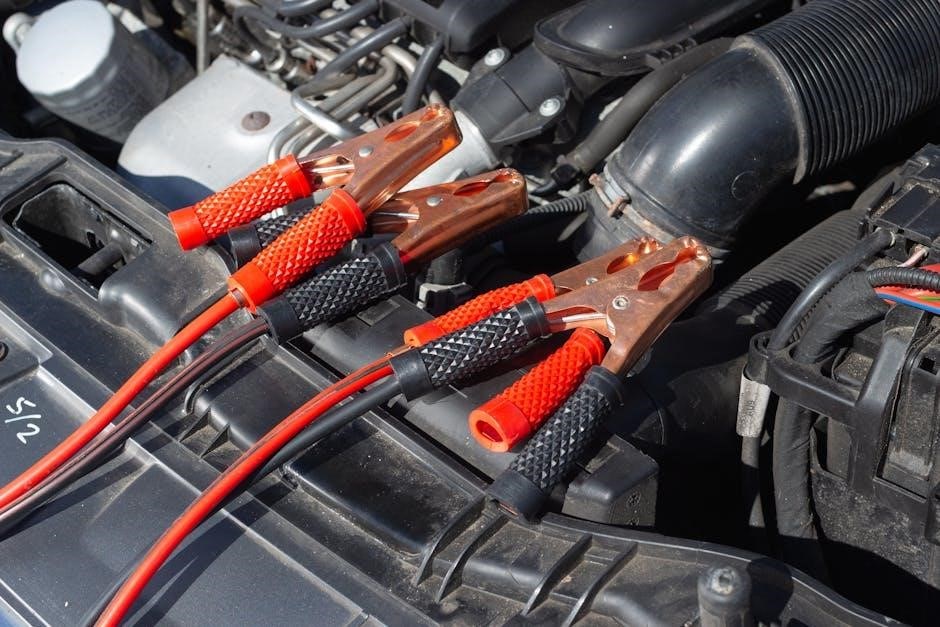
Connecting the Clamps – Correct Polarity
Maintaining correct polarity is paramount for safe jump starting. Always begin by attaching the red (positive) clamp to the positive (+) terminal of the discharged battery. Subsequently‚ connect the other red clamp to the positive (+) terminal of the boosting vehicle’s battery. Following this‚ securely attach the black (negative) clamp to the negative (-) terminal of the boosting vehicle’s battery.
Critically‚ the final black clamp should not connect directly to the dead battery’s negative terminal. Instead‚ attach it to a clean‚ unpainted metal surface on the disabled vehicle’s engine block‚ away from the battery. This minimizes spark risk. Incorrect polarity can cause severe damage.
Jump Starting Procedure – Detailed Instructions
Ensure both vehicles are turned off before commencing. Confirm the clamps are securely connected with correct polarity – red to positive (+)‚ black to a grounded metal surface on the disabled vehicle. Turn the boosting vehicle’s ignition on and allow it to run for a few minutes to transfer some charge.
Now‚ attempt to start the disabled vehicle. If it doesn’t start immediately‚ wait a few more minutes and try again. Avoid prolonged cranking (more than 10 seconds) to prevent overheating the starter. Once the vehicle starts‚ carefully disconnect the clamps in the reverse order of connection – black from the vehicle‚ then red‚ then red from the booster‚ then black.
Troubleshooting Common Jump Starting Issues
If the jump starter fails to deliver a spark‚ first verify the clamps are firmly attached with correct polarity. A fully charged unit is crucial; check the LED indicators. If the vehicle still won’t start‚ allow the boosting vehicle to run longer‚ transferring more charge. Prolonged cranking should be avoided to prevent starter damage.
If encountering repeated failures‚ the disabled vehicle’s battery may be severely damaged or have an internal short. In such cases‚ jump-starting might not be effective‚ and professional assistance is recommended. Ensure the jump starter itself is not overheating during use; allow it to cool if necessary.
Using the USB Port for Device Charging
The Everstart Maxx jump starter features a convenient USB port for charging compatible mobile devices like smartphones and tablets. This functionality provides a valuable power source during emergencies or when access to traditional charging methods is limited; Supported devices include those compatible with standard USB charging‚ such as iPhones (6S and newer) and Android devices running OS 8.0 or later with ARCore 1.9 support.
However‚ charging speed may vary depending on the device and the jump starter’s current charge level. It’s important to note that continuous USB charging while jump-starting a vehicle is not recommended‚ as it may drain the jump starter’s battery faster.
USB Charging Capabilities & Limitations
The integrated USB port offers 5V/2.1A output‚ suitable for efficiently charging a wide range of portable devices. While convenient‚ the USB charging function is secondary to the jump starting capability and has inherent limitations. Charging times will differ based on the target device’s battery capacity and charging circuitry. Larger capacity batteries‚ like those found in some tablets‚ will naturally take longer to fully charge.
Simultaneous use of the USB port and jump starting is discouraged‚ as it can significantly reduce the jump starter’s operational time. The USB port is not designed for fast charging protocols beyond standard 5V/2.1A‚ so devices supporting those technologies won’t benefit from increased speeds.
Compatible Devices for USB Charging
The Everstart Maxx jump starter’s USB port is broadly compatible with most devices utilizing standard USB charging. This includes smartphones (iPhone 6S and later‚ most Android models)‚ tablets (iPad 5 and later‚ Android tablets)‚ digital cameras‚ Bluetooth headphones‚ portable speakers‚ and other USB-powered accessories. Devices requiring USB-C connections may necessitate an adapter cable.
However‚ compatibility isn’t guaranteed for all devices‚ particularly older or niche models with non-standard charging requirements. The jump starter isn’t optimized for high-power devices like laptops‚ and charging them will be very slow or may not work at all. Always check your device’s power input specifications before connecting to ensure compatibility and avoid potential damage.
Maintenance and Storage
To ensure longevity and optimal performance of your Everstart Maxx jump starter‚ regular maintenance is crucial. Periodically inspect the clamps for corrosion or damage‚ cleaning them with a wire brush if necessary. Wipe down the jump starter’s casing with a damp cloth to remove dirt and debris. Avoid using harsh chemicals or solvents.

Proper storage is equally important. Store the jump starter in a cool‚ dry place‚ away from direct sunlight and extreme temperatures. Avoid storing it in a discharged state for extended periods‚ as this can damage the battery. It’s recommended to charge it fully before long-term storage. Keep it out of reach of children and pets.
Proper Storage Conditions
Maintaining ideal storage conditions is vital for preserving the lifespan and functionality of your Everstart Maxx jump starter. Store the device in a dry environment‚ shielded from moisture‚ as humidity can lead to internal corrosion and battery degradation. Avoid extreme temperatures – both hot and cold – as they can negatively impact battery performance and potentially cause damage.
Optimal storage temperature ranges between 32°F and 77°F (0°C and 25°C). Do not store the jump starter in direct sunlight or near heat sources. It’s best to store it in a clean‚ dust-free location‚ away from flammable materials. Periodically check the charge level during extended storage and recharge if necessary to prevent deep discharge.
Cleaning and Inspection Procedures
Regular cleaning and inspection are crucial for ensuring the reliable operation of your Everstart Maxx jump starter. Before each use‚ visually inspect the clamps for any signs of corrosion‚ damage‚ or loose connections. Clean the clamps with a dry cloth to remove any debris or residue. Avoid using water or solvents‚ as these can damage the components.
Periodically wipe down the jump starter’s casing with a damp cloth to remove dust and dirt. Inspect the cables for cuts‚ fraying‚ or exposed wires. Ensure the LED indicators are functioning correctly. If any damage is detected‚ discontinue use and contact Everstart customer support for assistance. Proper maintenance extends the life and safety of your device.
Technical Specifications – Everstart Maxx Models
The Everstart Maxx jump starter series offers two primary models: 800A and 1200A. The 800A model is designed for smaller vehicles‚ providing sufficient power for cars and light trucks. The 1200A model delivers increased amperage‚ suitable for larger vehicles‚ SUVs‚ and even diesel engines; Both models feature a built-in USB port for charging mobile devices.

Input Voltage: 100-240V AC. Output Voltage: 12V DC. Starting Current: 800A or 1200A (peak). USB Output: 5V/2.1A. Operating Temperature: -20°C to 60°C. Dimensions vary slightly between models. Weight is approximately 7-8 lbs. Refer to the detailed specifications chart for precise measurements and capabilities of each model.
800A vs. 1200A Model Comparison
Choosing between the Everstart Maxx 800A and 1200A depends on your vehicle’s engine size and type. The 800A model is ideal for cars‚ vans‚ and smaller trucks with gasoline engines‚ offering a cost-effective solution for most passenger vehicles. It provides reliable jump-starting power for everyday use.
The 1200A model‚ however‚ excels with larger vehicles like SUVs‚ diesel engines‚ and heavy-duty trucks. Its higher amperage ensures a successful jump-start even in challenging conditions. While slightly more expensive‚ the 1200A offers greater versatility and peace of mind for owners of larger vehicles or those frequently needing to jump-start diverse engines. Consider your typical needs when selecting the appropriate model.
Detailed Specifications Chart
Here’s a comprehensive specifications chart for both Everstart Maxx models‚ outlining key performance indicators. The 800A model features a peak amperage of 800A‚ a starting current of 400A‚ and is suitable for engines up to 6.0L gasoline or 4.0L diesel. It operates at 12V DC and has a battery capacity of 18‚000mAh.
The 1200A model boasts a peak amperage of 1200A‚ a starting current of 600A‚ and supports engines up to 8.0L gasoline or 6;0L diesel. It also operates at 12V DC with a 24‚000mAh battery capacity. Both models include a USB output (5V/2.1A) for device charging and feature built-in safety protections like reverse polarity‚ over-charge‚ and short-circuit protection. Dimensions and weight may vary slightly between models.
Warranty Information & Customer Support
Everstart Maxx Jump Starters are covered by a standard one-year limited warranty from the date of original purchase. This warranty protects against defects in materials and workmanship under normal use. The warranty does not cover damage resulting from misuse‚ abuse‚ accidents‚ or unauthorized modifications. Proof of purchase is required for all warranty claims.
For customer support‚ please contact Everstart directly. While specific contact details weren’t provided‚ generally‚ customer service can be reached through the retailer where the product was purchased (e.g.‚ Walmart). Online resources and FAQs may also be available on the retailer’s website. Retain your purchase receipt and this manual for warranty service and support inquiries.
Warranty Coverage Details
The Everstart Maxx Jump Starter warranty specifically covers defects in materials and workmanship encountered during normal operational use. This includes failures of the internal battery‚ charging circuitry‚ or the jump-starting clamps themselves. Coverage is voided by any evidence of misuse‚ such as improper charging techniques‚ attempting to jump-start vehicles exceeding the unit’s capacity‚ or physical damage like dropping the device.
The warranty does not extend to normal wear and tear‚ cosmetic damage‚ or consequential damages resulting from a jump-start attempt. To initiate a claim‚ retain your original proof of purchase and contact Everstart customer support through the retailer. A return authorization may be required before sending the unit for inspection and potential repair or replacement.
Contacting Everstart Customer Support
For immediate assistance with your Everstart Maxx Jump Starter‚ the primary point of contact is through the retailer where you purchased the device. Many retailers offer dedicated support lines or online chat features for Everstart products. If you require direct assistance from Everstart‚ locate your original purchase receipt as proof of date and location.
Everstart’s customer support can be reached via phone or email. Check the product packaging or the retailer’s website for the most up-to-date contact information. Be prepared to provide the model number of your jump starter‚ a detailed description of the issue‚ and your proof of purchase. Online resources‚ including FAQs and troubleshooting guides‚ are also available on the retailer’s support pages.